Openers · Georgina
Garage Door Remote and Keypad Programming
Someone in the family tried to add a remote, held the button on the ceiling unit a little too long, and now every remote in the house is dead at once.
In plain words
Older openers set their code with a row of tiny switches inside the remote and the receiver, and once those remotes stop being made the door seems stranded. It is not. An add-on receiver wires to the same two terminals as the wall button and plugs into the ceiling outlet, giving the old motor a modern rolling-code radio along with new remotes and a keypad. The door mechanics stay as they are, provided the opener already has photo eyes near the floor. Where it has none, the conversation turns to a new opener, and the reasons are explained plainly.
How the visit goesYou bought a new remote at the hardware store, followed the little leaflet twice, and the opener light never blinked. The old remote still works. The new one does nothing at all, from the driveway or standing directly under the motor.
Garage Door Remote and Keypad Programming
How the visit goes
Vehicle buttons and phone apps
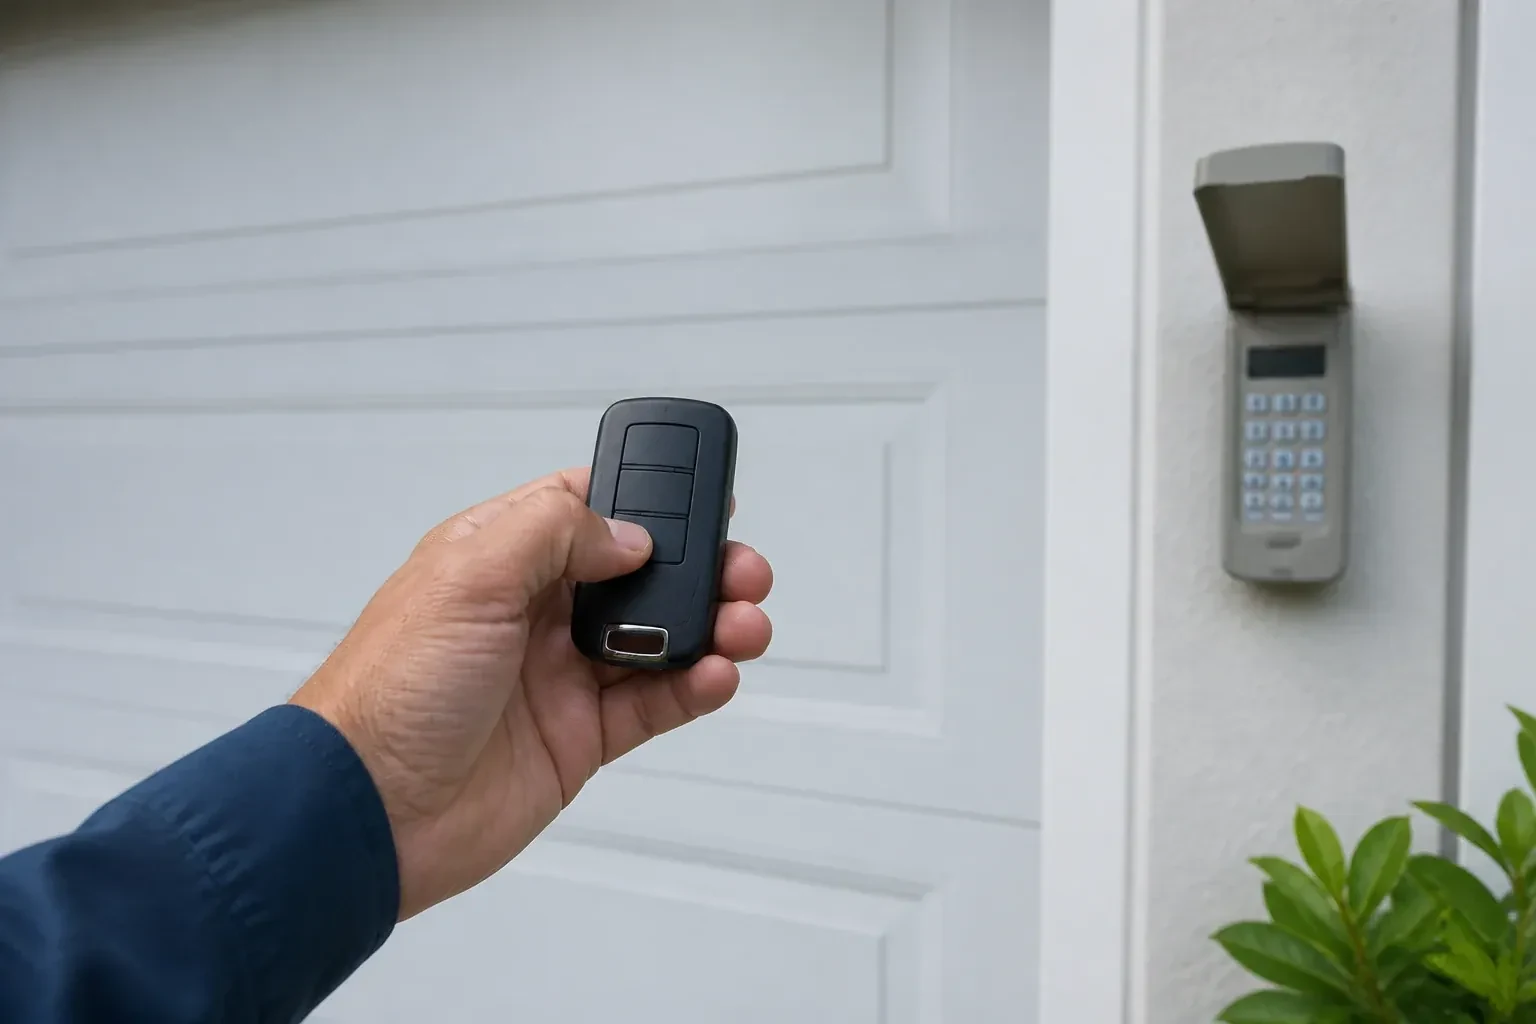
Cars with built-in garage buttons and openers with a phone connection are part of the inventory too. The technician asks which vehicles are programmed, whether a new car needs training, and whether a previous owner's phone might still be linked to a connected opener. For a vehicle, the model year matters, because some older in-car systems need a small compatibility module to talk to newer openers. For an app, the account should be in the household's name. Each of these is a control like any other and gets the same test at the door, so the check lists them alongside the handheld remotes and the keypad.
Bringing a fixed-code opener into the present
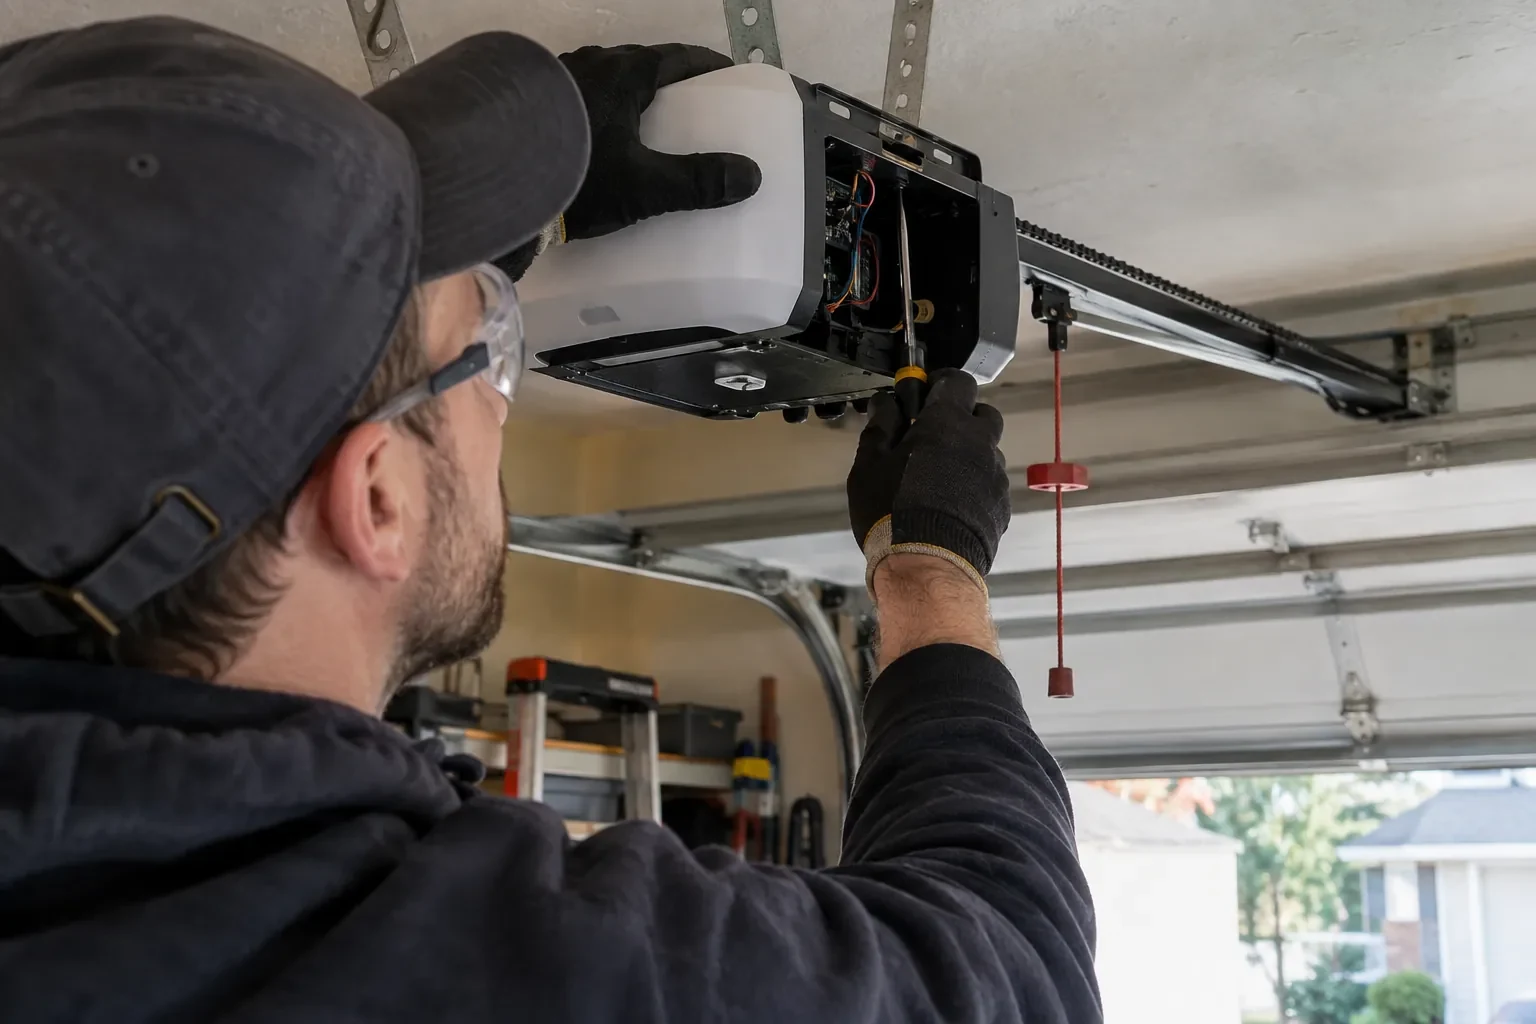
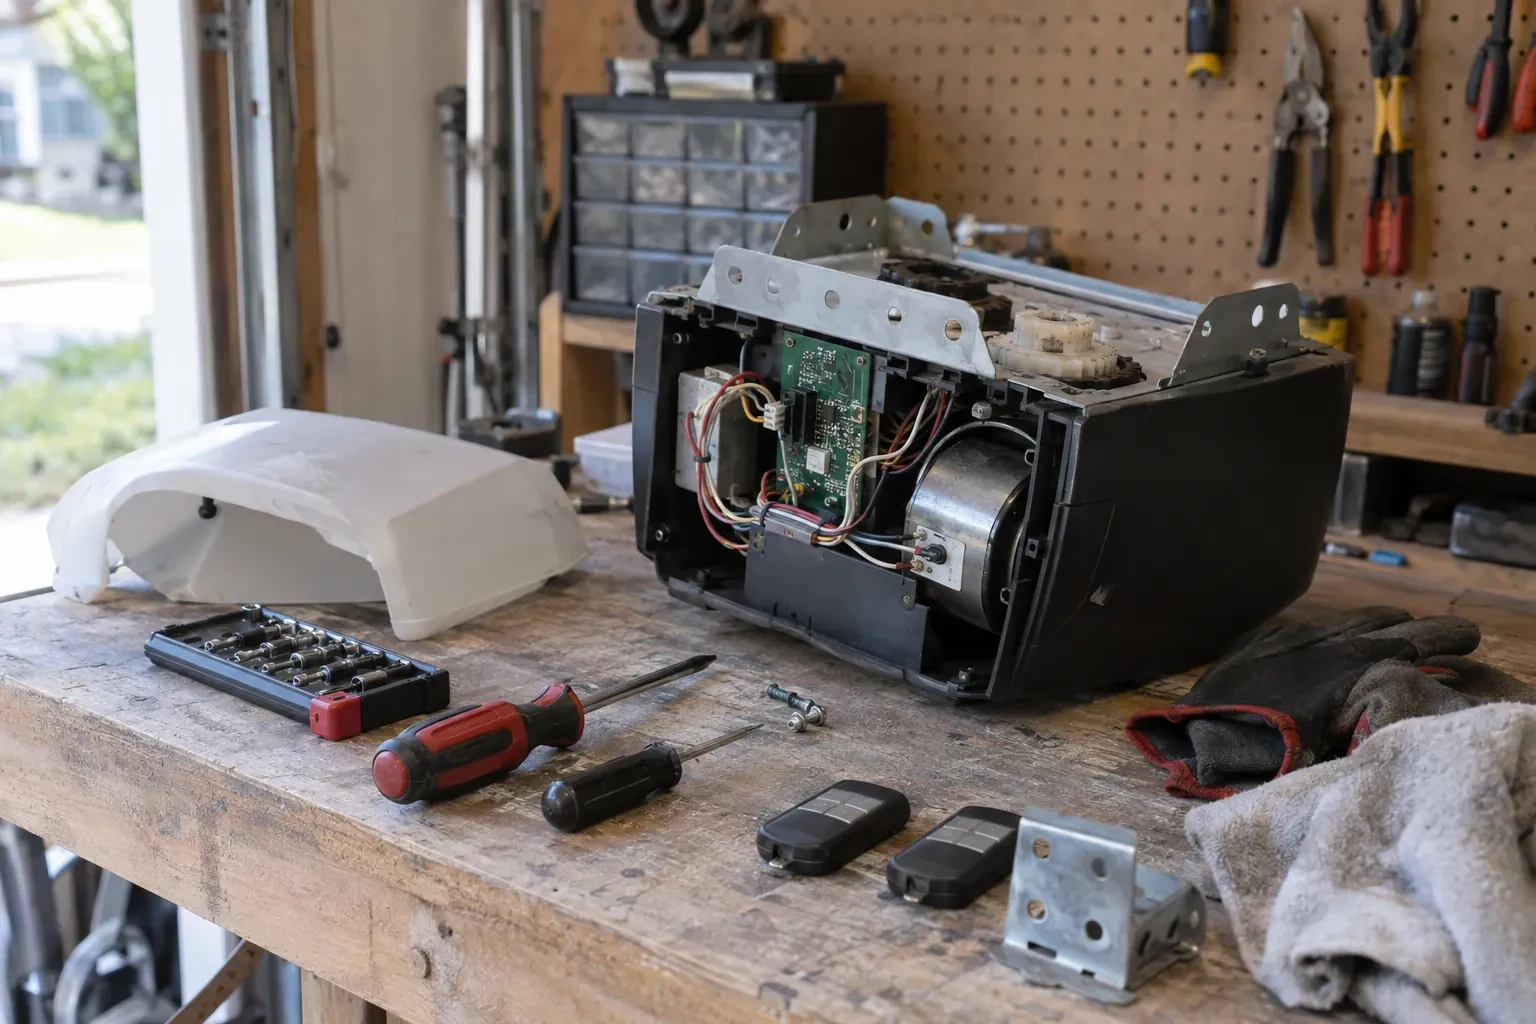
For an older opener whose remotes were set by rows of small switches and are no longer made, the work is a receiver upgrade rather than a pairing. The technician mounts a compact rolling-code receiver near the head unit, wires its two conductors to the same terminals that serve the wall button, and plugs its transformer into the ceiling receptacle beside the opener. The opener now has a modern radio and can store a handful of new remotes and a keypad. This route is used only when the opener already has photo eyes at the floor; without them, the recommendation is a new opener.
An older opener with a modern radio
If an add-on receiver was fitted, your original motor and rail carry on as before while a small box near the head unit does the listening. You have new remotes and a keypad that use rolling codes, so the door no longer answers a fixed code that any similar remote might share. The receiver's power plug and its two thin wires to the wall-button terminals are shown to you so nothing is unplugged by accident. The photo eyes that made this upgrade possible are checked and their monthly test explained, since they remain the door's main protection.
Garage Door Remote and Keypad Programming
In the van
Receiver transformer and two-conductor wire
Wireless outdoor keypad
Universal multi-generation remote
AAA and nine-volt keypad batteries
Multi-door keypad
Garage Door Remote and Keypad Programming
What affects the quote
Number of controls
Each remote, keypad and vehicle button is programmed and tested individually, so a single replacement remote and a household with three cars, two keypads and a gate are different visits.
Access to the head unit
A high ceiling, a storage loft or a car that cannot be moved from under the opener means extra ladder work to reach the learn button.
Range and interference work
Swapping bulbs, freeing the antenna and re-testing range from the street is a small addition when remotes work only up close.
What to have ready
- Roughly how old is the opener, and can you read its model label?
- Which controls fail: one remote, all remotes, the keypad, or the car buttons?
- Is the light on the wall control blinking steadily?
Garage Door Remote and Keypad Programming: questions
QuestionsDoes programming a new remote erase the old ones?
No. A short press of the learn button adds a control to the memory alongside the others. Erasing them takes that model's own sequence, a longer hold on many openers and a different button combination on others. Pressing into the erase sequence by accident is what occasionally leaves a household finding every remote dead after trying to add one. The fix is to reprogram each device.
How long do I have after pressing the learn button?
Roughly half a minute on most openers. Press and release the button, then press the remote button you want to use until the opener light blinks or the unit clicks. If the window closes before you finish, simply press the learn button again and repeat. The window is short on purpose, so a passing signal cannot slip into the memory.
What is the learn button and where is it?
It is a small button on the head unit, usually under the light cover on the same side as the antenna wire, sometimes on the back. Pressed briefly, it opens a window in which a remote or keypad can be added. Erasing every stored control follows that model's own sequence, which on some current openers needs more than one button. Some wall-mounted controls carry a second learn button that works the same way, and a connected app or account is managed on its own.
Related services
- Chain-Drive Opener RepairHalfway up, the door lurches.
- Belt-Drive Opener RepairThe belt looks fine from a distance, but up close the rubber has cracked across the back in dozens of places and, in one spot, you can see the steel cords showing through.
- Garage Door Opener ReplacementYou want the ceiling back.