Repairs · Pefferlaw
Garage Door Perimeter Weatherstrip in Pefferlaw
Every time the door closes there is a rubbing squeal along one side, and the flexible fin has folded under itself and torn.
In plain words
When the work is finished you have a door that closes against a soft, continuous line of contact on both sides and across the top. From inside with the lights off there is no daylight at the edges; from outside, the new stop matches the trim colour. The door moves through its full travel without the fin catching or squealing. You are told what profile, colour and lengths were fitted, so a match is simple later, and shown the few habits that keep the seal supple: no paint on the fin, a silicone wipe before freezing rain, and slush kept off the bottom of the jambs.
How the visit goesThe vinyl strip around the door used to be soft and white. Now it is grey and hard, cracked every few inches, and a piece near the corner snaps off in your fingers. It no longer bends toward the door at all.
Garage Door Perimeter Weatherstrip
How the visit goes
Probing the jambs and header
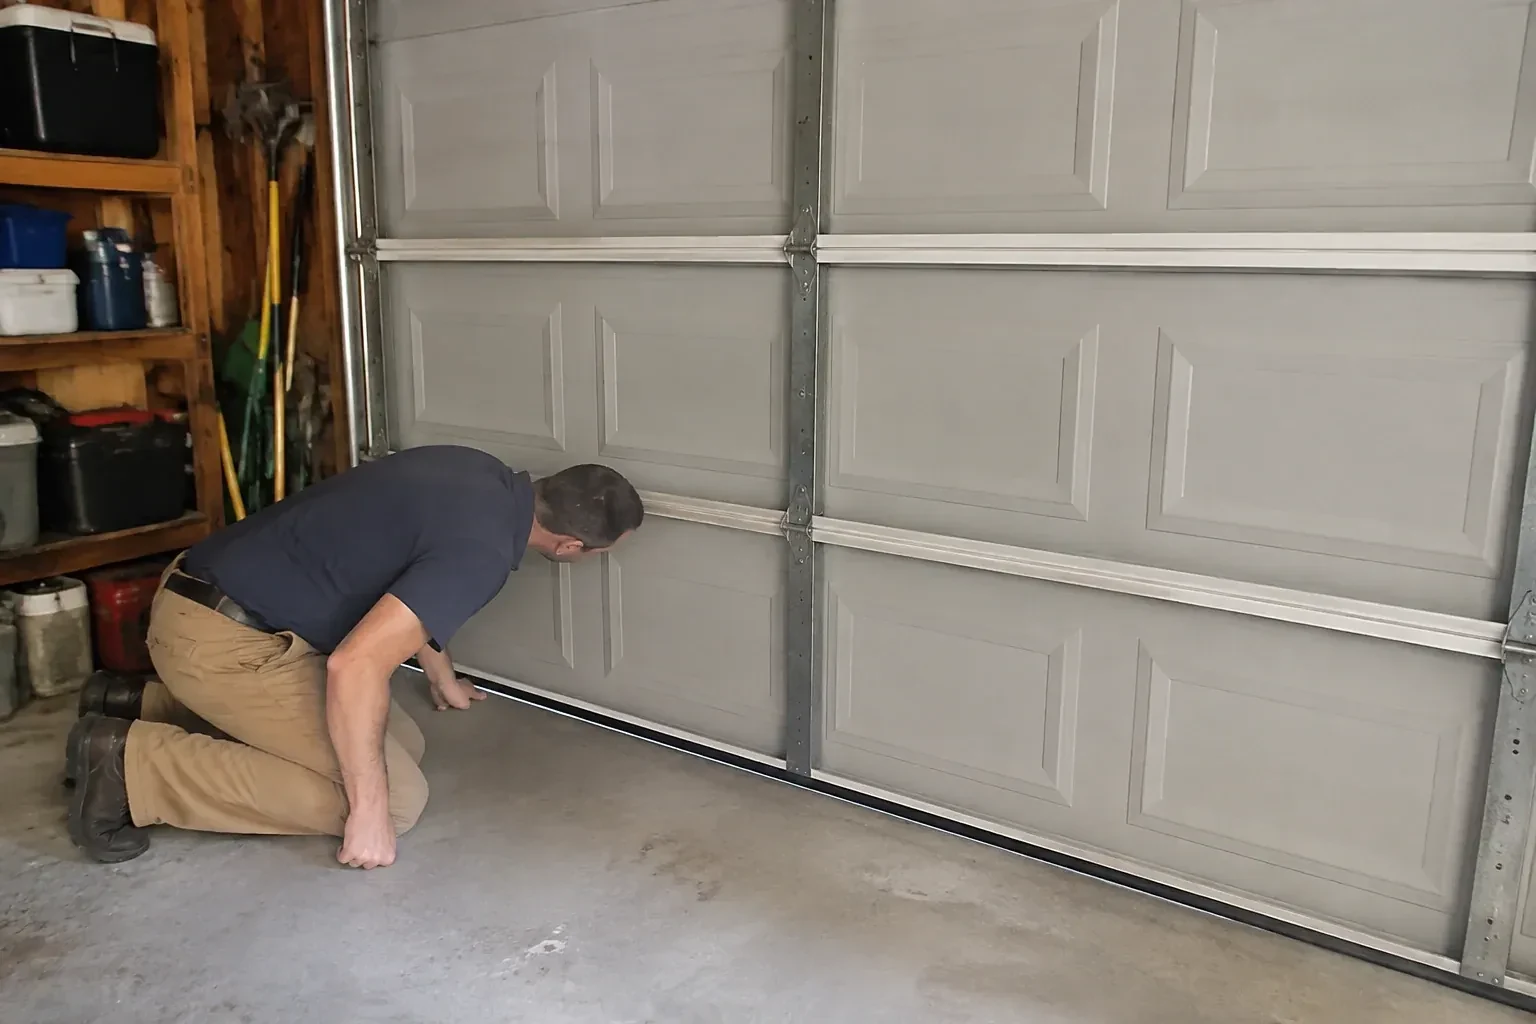
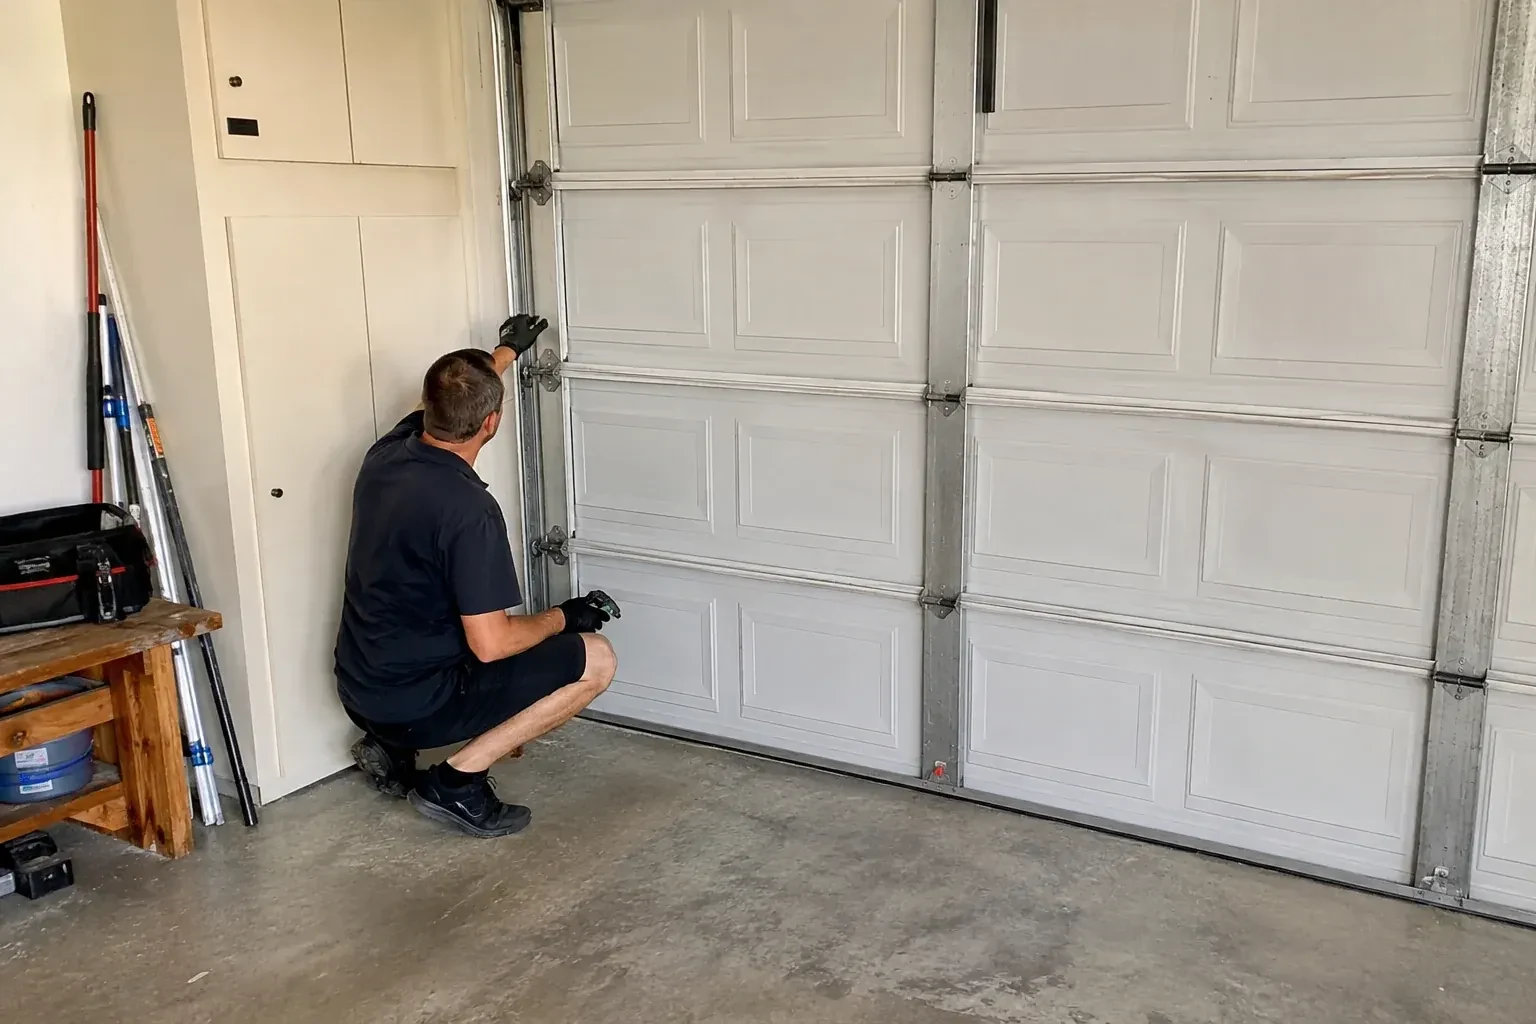
The strip is only as secure as the wood behind it, so the jambs are probed with an awl along their length and especially the lowest part, where slush and salt sit all winter. Soft, dark or crumbling wood is marked for repair. The header is checked for sag and for gaps opening between it and the top section. Where the jambs are clad in aluminum or vinyl, the technician looks for what the cladding hides and for where the seal can be fastened through to solid material. This step often adds a splice of new lumber or PVC trim to the job, and it is what makes the new seal stay put.
Taking off the old strip cleanly
The old fin or stop comes off with a flat bar worked behind it a little at a time, so the trim and any brickmould stay intact. Nails are drawn with end-cutting pliers rather than hammered through, staples are lifted, and any old adhesive is scraped back to bare surface. Where the whole wood stop is being replaced with a one-piece vinyl stop, the stop is freed along its length and lifted out, and the paint ridge it leaves is knocked down so the new moulding sits flat. The bare jamb is brushed clean and any loose paint at the edges is removed before anything new goes on.
Slush, salt and the bottom of the jambs
The lowest part of each jamb is where the weather does its work, so a little attention there protects the whole seal. Push slush away from the jambs when clearing the driveway rather than piling it against them, and rinse the salt off the bottom of the stop on a mild day. Keep the joint between the jamb and the sill caulked so meltwater runs off the face instead of behind it. If a section of jamb was replaced, keep its paint or PVC surface intact. A dry jamb base holds its fasteners, and fasteners that hold keep the seal tight.
Garage Door Perimeter Weatherstrip
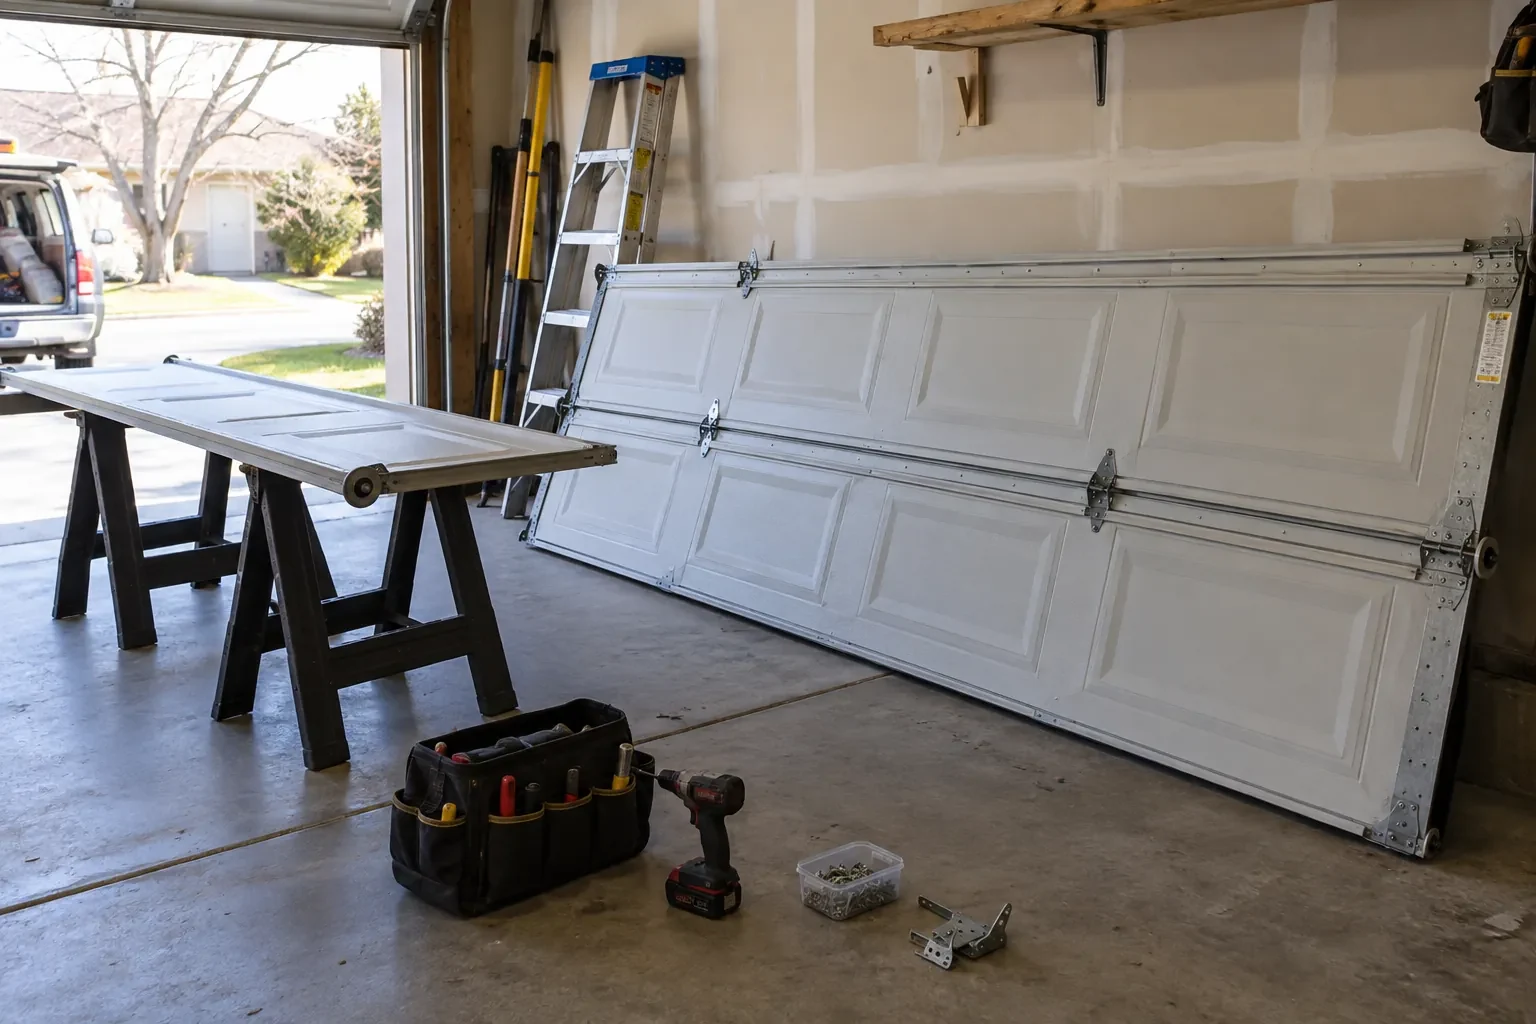
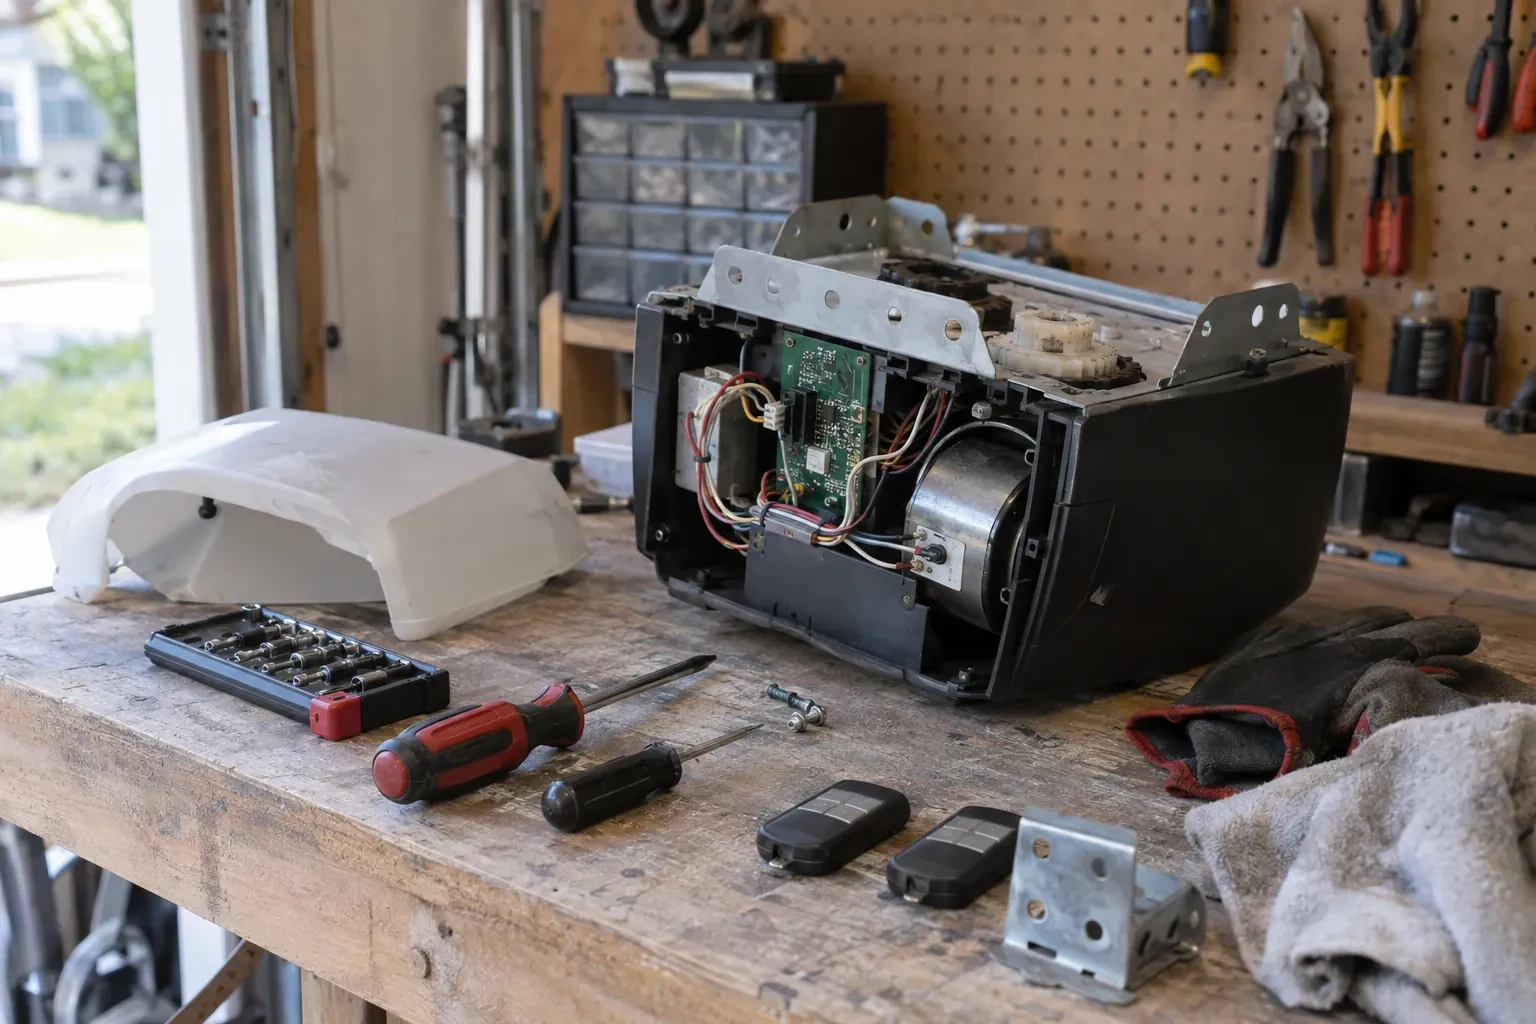
In the van
Flat bar, hammer and nail set
Exterior caulking and gun
Galvanized or stainless trim nails
Epoxy consolidant and exterior primer
Aluminum retainer and rubber insert
Garage Door Perimeter Weatherstrip
What affects the quote
Jamb material
Wood jambs take nails; steel or aluminum-clad jambs need screws and sometimes a backing piece, and masonry openings need a different fixing altogether, each with its own time and hardware.
Size of the door
A double door has a longer header and the same two sides as a single, so more material and a two-person lift for the top piece; taller openings take longer side lengths.
Colour and profile
Standard colours and fin widths are carried on the truck. A less common colour, an extra-wide fin or a commercial retainer with insert may be a special order, with the difference noted.
What to have ready
- Is it a single or double door, and roughly how wide and tall?
- Does the door rub or catch on the seal when it moves?
- Is your garage attached to the house, and is it heated?
Garage Door Perimeter Weatherstrip: questions
QuestionsMy door was replaced last year. Does the perimeter seal need doing too?
Often, yes. A new door is sometimes fitted against the original wood stop and its old fin, and the new door may sit slightly differently in the opening, so the old seal no longer meets it. If daylight shows at the edges or the fin is hard and cracked, a new seal set against the new door completes the installation and matches the fresh look of the door.
Why should the seal only touch the door lightly?
The fin is meant to bend against the door with a small, even deflection. That is enough to seal, and it lets the fin spring clear as the door lifts. Pressed hard, it drags on the door face, folds under on the way down, squeals and wears through well before its time, and it adds load to the opener. Set too far off, it leaves a standing gap. The light touch is the setting that lasts.
What should I do before the technician arrives?
Move the car out of the garage or well back from the door, and clear anything stored against the jambs inside and any bins, planters or snow piled against them outside. Leave the door closed so the gaps can be seen as they are. If you have noticed where the daylight, drafts or snow come in, or where the mice appear, be ready to point it out.
Related services
- Garage Door Tune-UpSince the first cold snap the door has been sluggish.
- Off-Track Garage Door ResetYou tapped the door with the bumper while backing in, barely a nudge, and now the bottom corner has swung inward.
- Garage Door Panel ReplacementYou misjudged the last metre of the driveway and felt the bumper meet the door.