Openers · Pefferlaw
Photo-Eye Sensor Alignment or Replacement in Pefferlaw
On bright mornings the door will not close, then by lunchtime it behaves itself.
In plain words
Two small sensors face each other across the doorway: one sends an infrared beam, the other receives it. While the beam lands on the receiver, the opener will close the door; the moment anything interrupts it, the door stops and returns to open. Every sensor call comes down to why the receiver has lost the beam: an object, a bent bracket, a dirty or frosted lens, sun in the receiving eye, a broken wire or a tired sensor. The technician works through those in order, fixes the one that applies, and shows you the steady indicator lights that mean the pair is talking again.
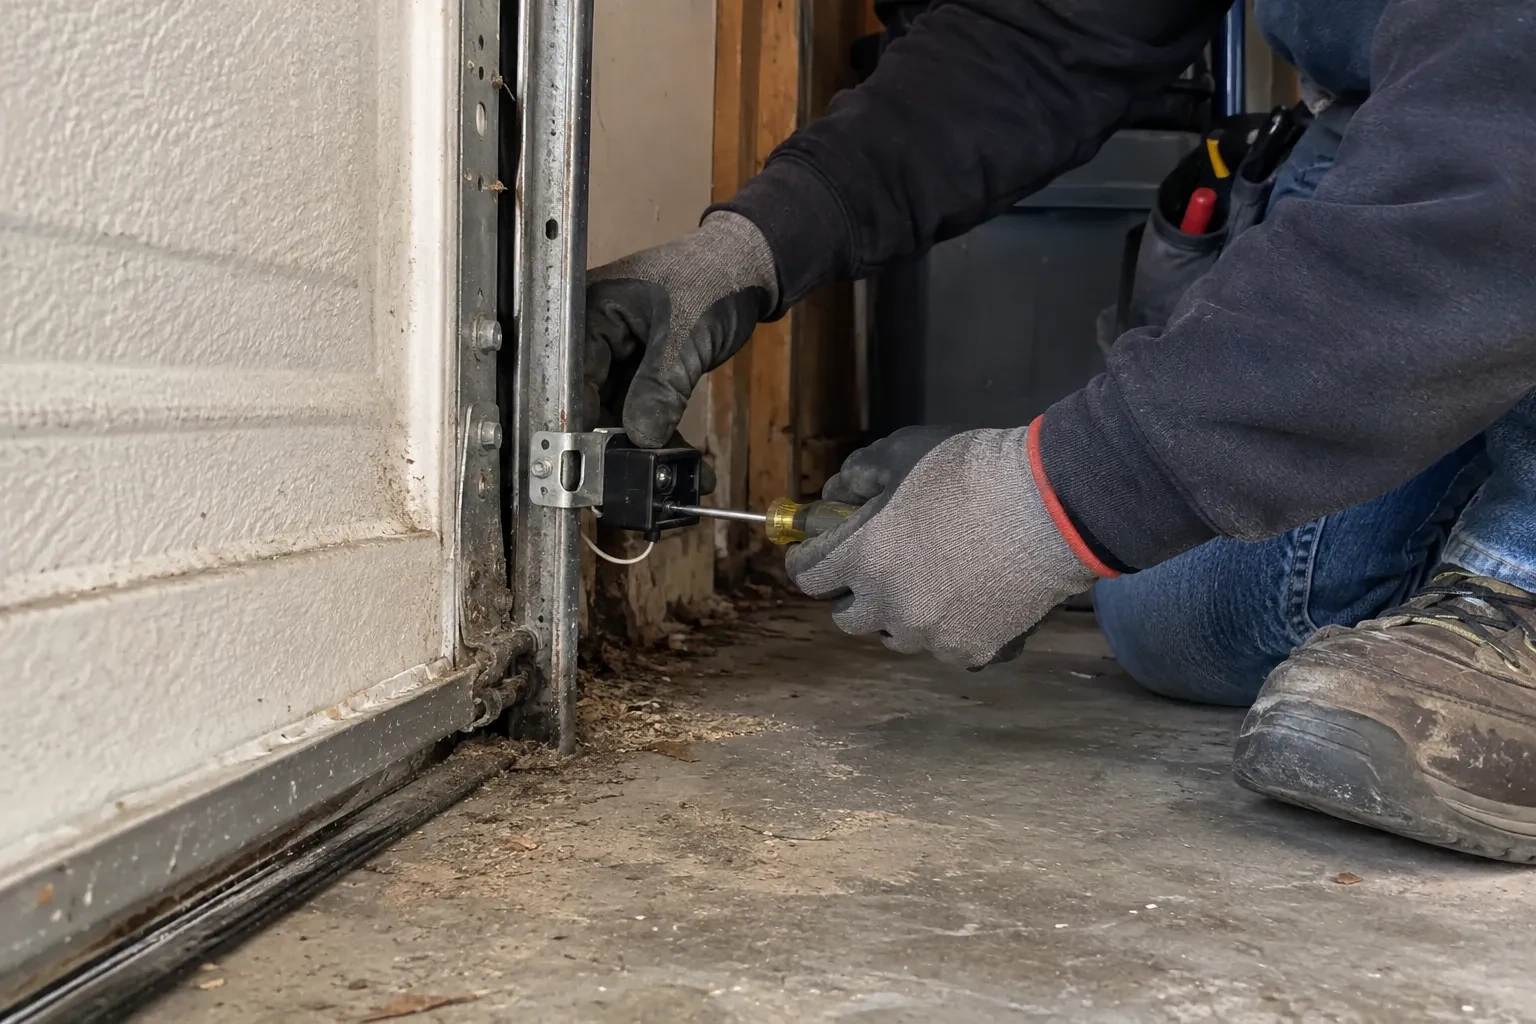
How the visit goesThe small light on one of the sensors near the floor has gone dark, or it flickers when someone walks past the track. The other one glows steadily. The door refuses to close from the car.
Photo-Eye Sensor Alignment or Replacement
How the visit goes
Ruling out sun, frost and reflections
A sensor that misbehaves on a timetable is usually being blinded rather than broken. The technician notes which way the door faces, where the low sun reaches the floor in the morning and late afternoon, and whether a receiving lens looks into that light or into a reflection off a parked car, a white wall or fresh snow. Lenses are checked for frost, condensation and a film of salt, common in an unheated garage. A hand cupped over the receiving eye while the light is watched is a simple test: if the indicator settles when the eye is shaded, the fix is a side swap or a small hood rather than new parts.
Resetting the alignment
Alignment is done with the door open and the lights in view. The technician sets both sensors to the same measured height, loosens the wing nut on the receiving side, and turns the sensor a fraction at a time until its indicator changes from dark or flickering to steady. The nut is tightened while the light is watched, because a sensor can drift as the fastener bites, and the sending side is treated the same way. Brackets are checked for play and the wire is re-clipped so it cannot tug the sensor out of line. A steady light on both sides, held through a few door cycles, is the standard.
If it ever reverses again
Should the door start bouncing back up in the future, you know the order to check. Look along the floor for anything in the beam. Look at the two sensor lights for a dark or flickering one. Look at whether the door backs up as soon as it starts or only after touching something, since the second points to the door's settings rather than the beam. Note whether the opener light is flashing and how many times. With those four facts the cause is usually obvious, and if a visit is needed, the technician arrives already knowing where to begin.
Photo-Eye Sensor Alignment or Replacement
In the van
Two-conductor low-voltage wire
Track-mount sensor brackets
Wall or floor angle brackets
Concrete anchors
Protective wire channel
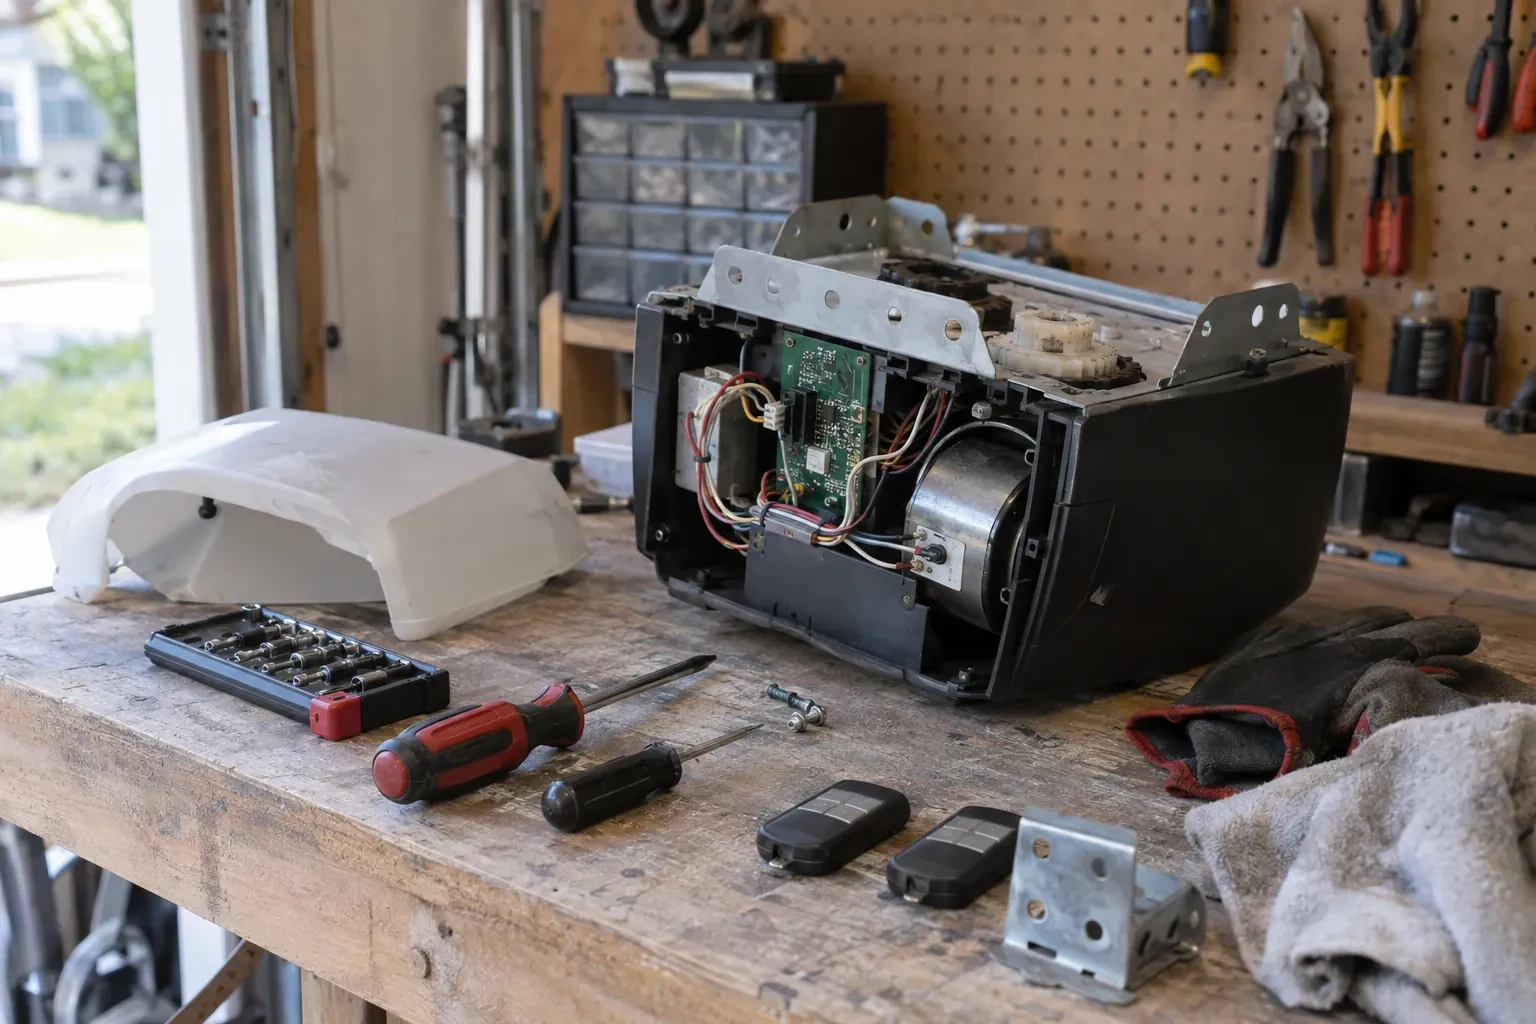
Photo-Eye Sensor Alignment or Replacement
What affects the quote
Sun and reflection remedies
Swapping the sensors side to side is a small addition when the wiring reaches. Fitting a shade, or extending the wire so the receiver can move, is a little more and is listed on its own.
Bracket condition
A bracket that can be straightened costs little time. One that is cracked, rusted through or missing is replaced, and a change from track clips to wall or floor brackets adds anchors and mounting work.
Type of kit
Some replacement kits contain only the two sensors with connectors, while others include brackets and a full length of wire. The kit that suits the opener and the state of the existing hardware is what is quoted.
What to have ready
- When did it begin, and what was different that week: a bump, new shelving, a storm, a frost?
- Can you see the thin sensor wire, and does any of it look pinched, cut or chewed?
- When you press close, does the door bounce back, sit still, or go down only with the wall button held?
Photo-Eye Sensor Alignment or Replacement: questions
QuestionsDo both sensors get replaced together?
Yes. The sending and receiving sensors are made and sold as a matched pair for a given opener family, and the head unit expects both to be from the same generation. Fitting a pair also means both lenses, both indicators and both mounting points are fresh at the same time, so the alignment holds and the next check is simpler. A single sensor from an unrelated kit is where mystery faults come from.
Will the sensors need replacing or just aligning?
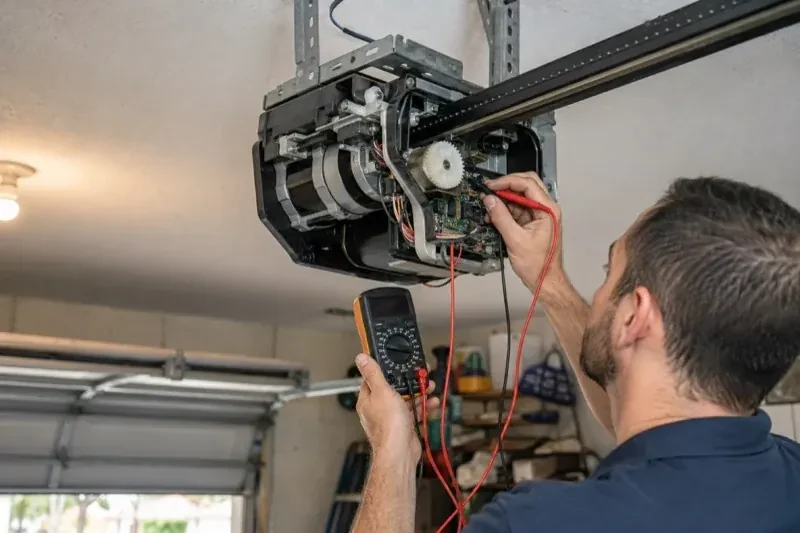
Most visits end in alignment, cleaning and bracket work, because the sensors themselves are hardy. Replacement comes into it when a lens has clouded or crazed, when the housing is split or holds water, an indicator stays dark with the wiring proven good, or the pair is from a different generation than the opener and is never recognised. The technician tests before choosing, so the parts list matches what the door needs.
Is it all right to keep using the door until the visit?
Use the door in a way that keeps you in control. If the opener closes only while the wall button is held, do that only while you can see the whole doorway and nobody is near it. Otherwise close the door first if you can, then move it by hand with the manual release, and get help if it feels heavy or binds. Keep children and pets clear during any test. A door that reverses is being cautious on your behalf.
Related services
- Chain-Drive Opener RepairHalfway up, the door lurches.
- Belt-Drive Opener RepairThe belt looks fine from a distance, but up close the rubber has cracked across the back in dozens of places and, in one spot, you can see the steel cords showing through.
- Garage Door Opener ReplacementYou want the ceiling back.