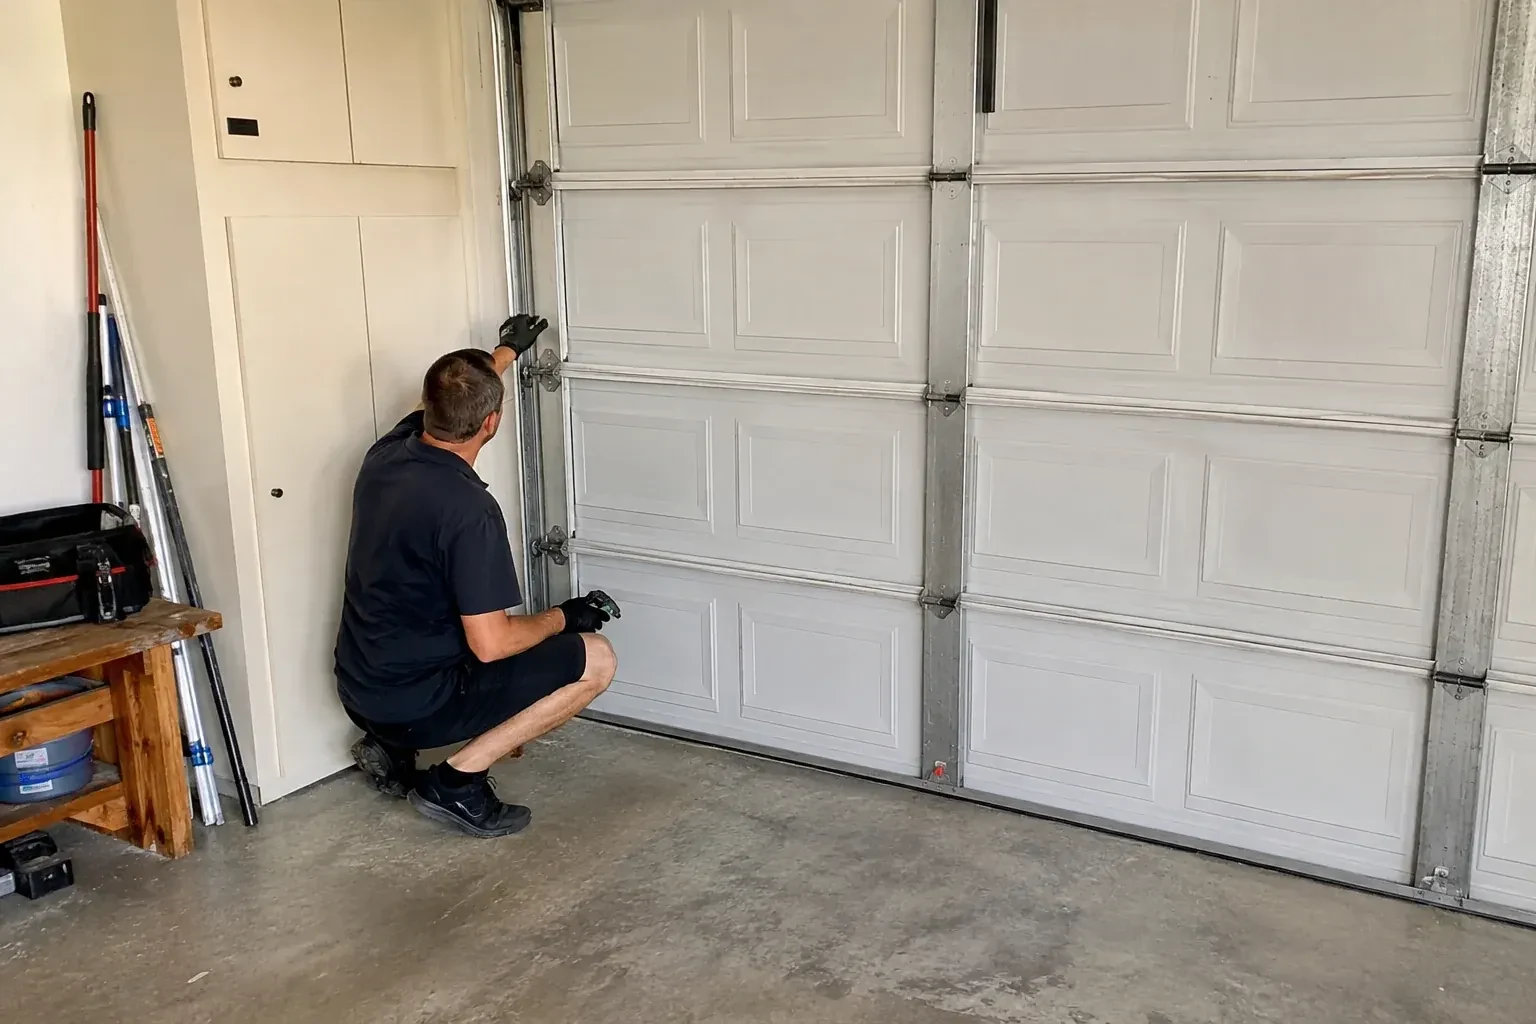
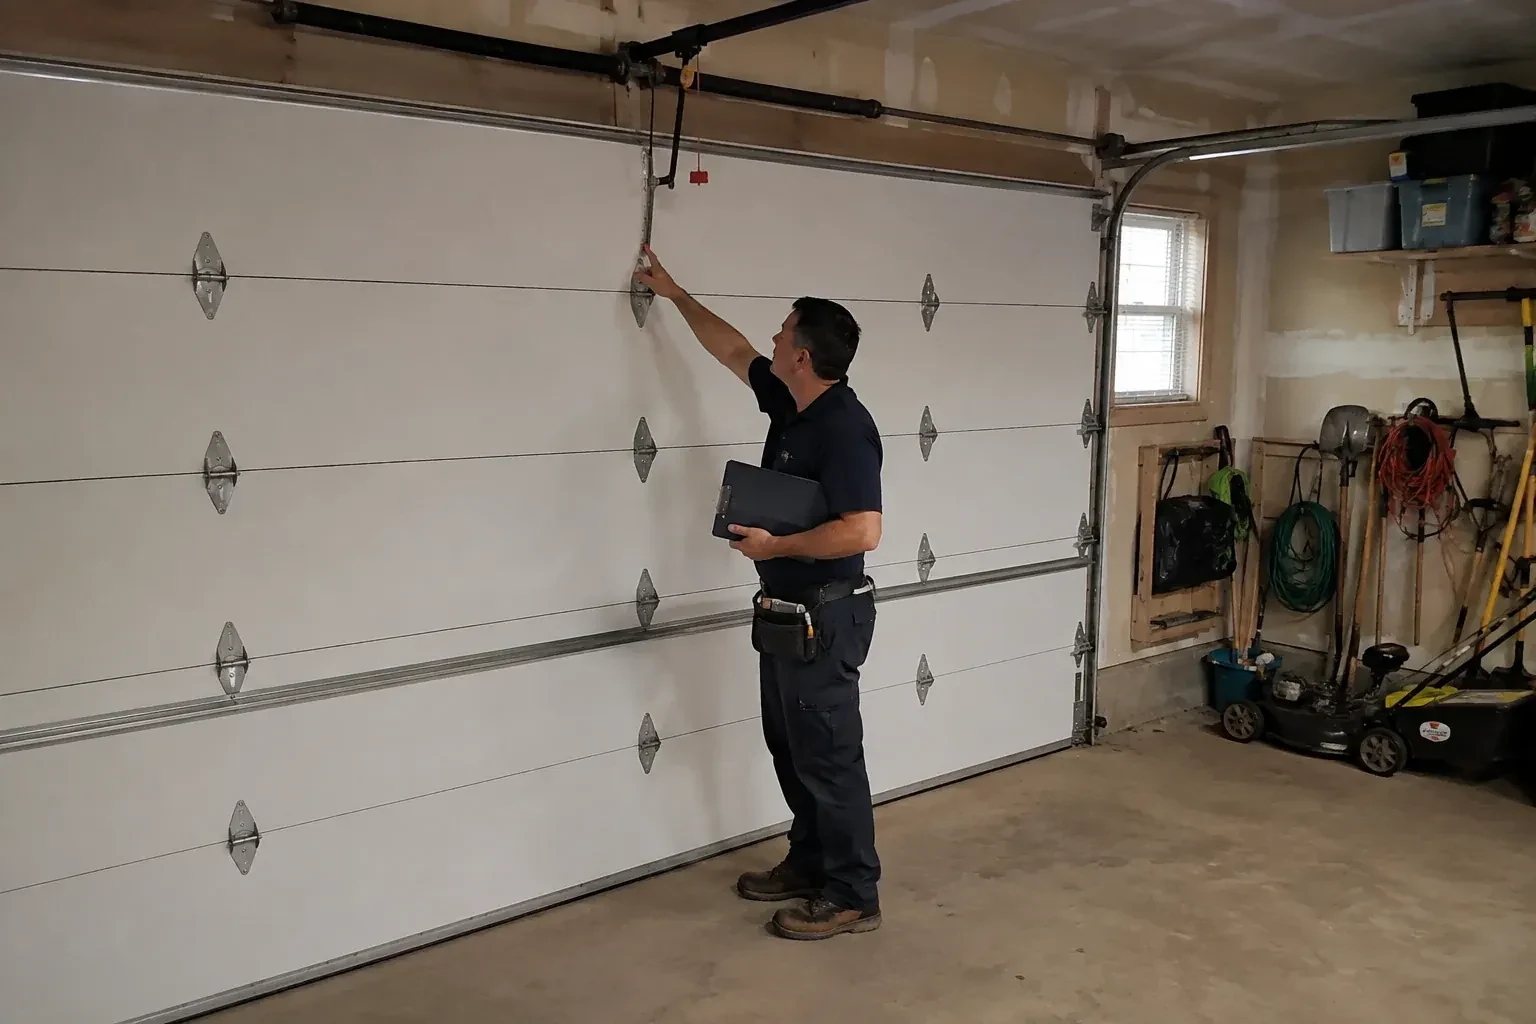
Repairs · Briars Park
Garage Door Safety Inspection in Briars Park
It has been a hard winter.
In plain words
For a home you have just bought, or one you are about to sell, the inspection gives the door a starting point. The report records the door and opener models, the spring type, the condition of every wearing part and the results of the balance and safety tests, all against a date. Anything that needs attention is listed with a suggested order. From then on you have something to compare against: a noise that appears next year means something changed since the record, not a mystery, and a buyer or an insurer asking about the door gets a factual answer instead of a shrug.
How the visit goesThere is a new sound. Last week the door simply hummed up and down; now there is a bang at the top of travel and a scrape on the way back, and you have started standing well back while it moves.
Garage Door Safety Inspection
How the visit goes
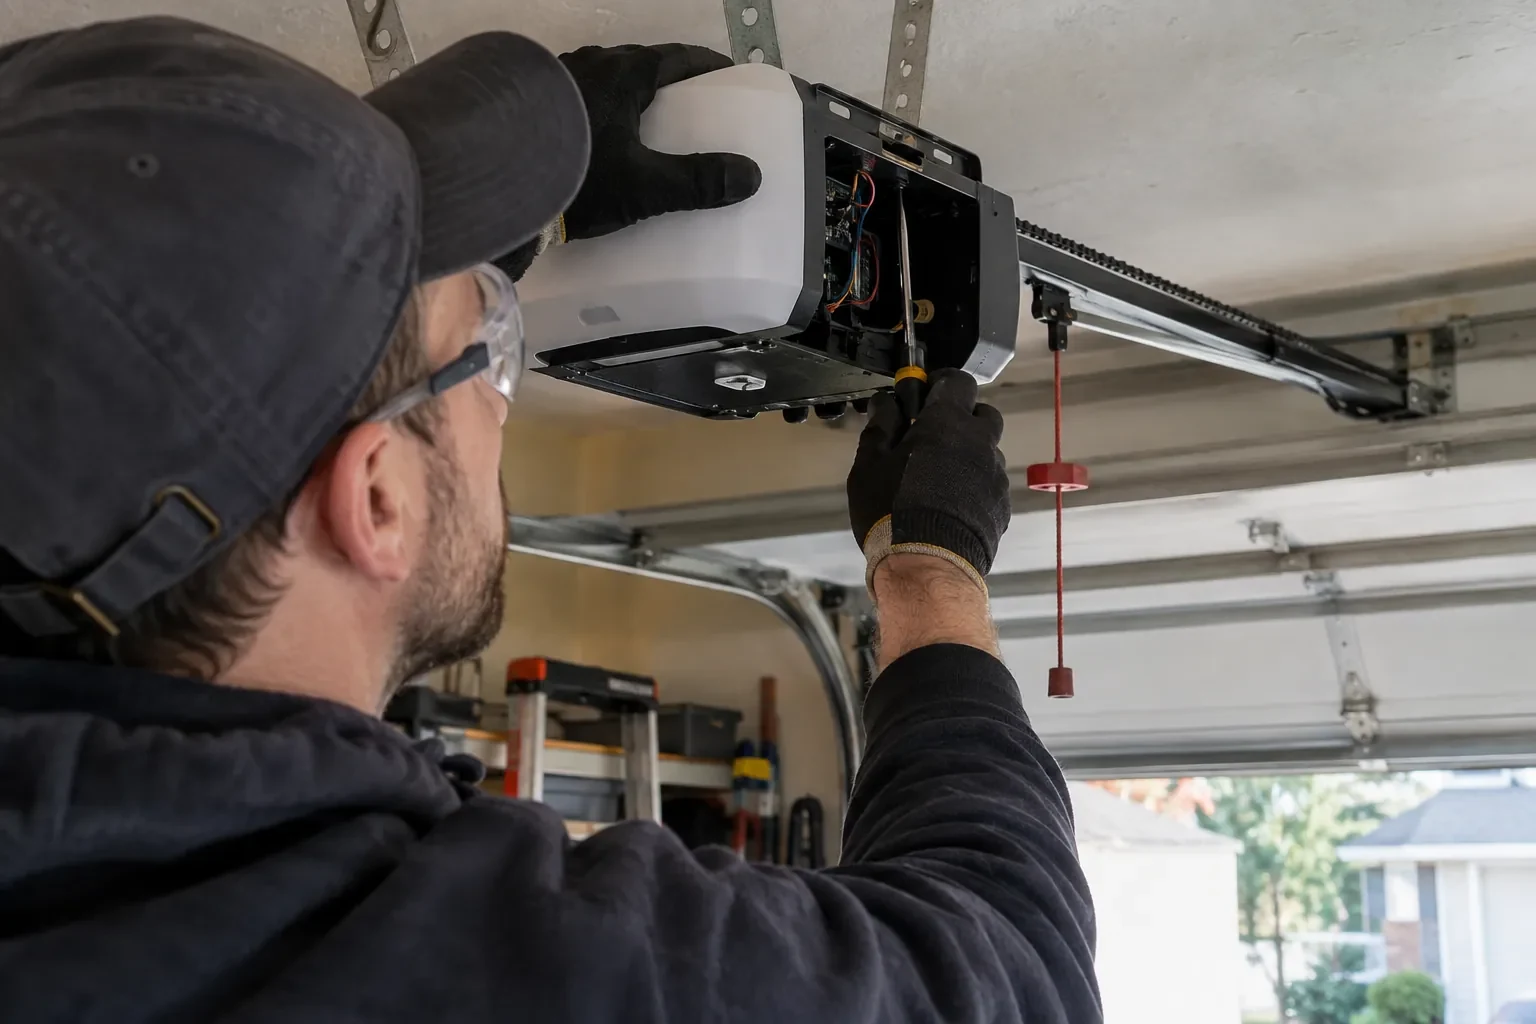
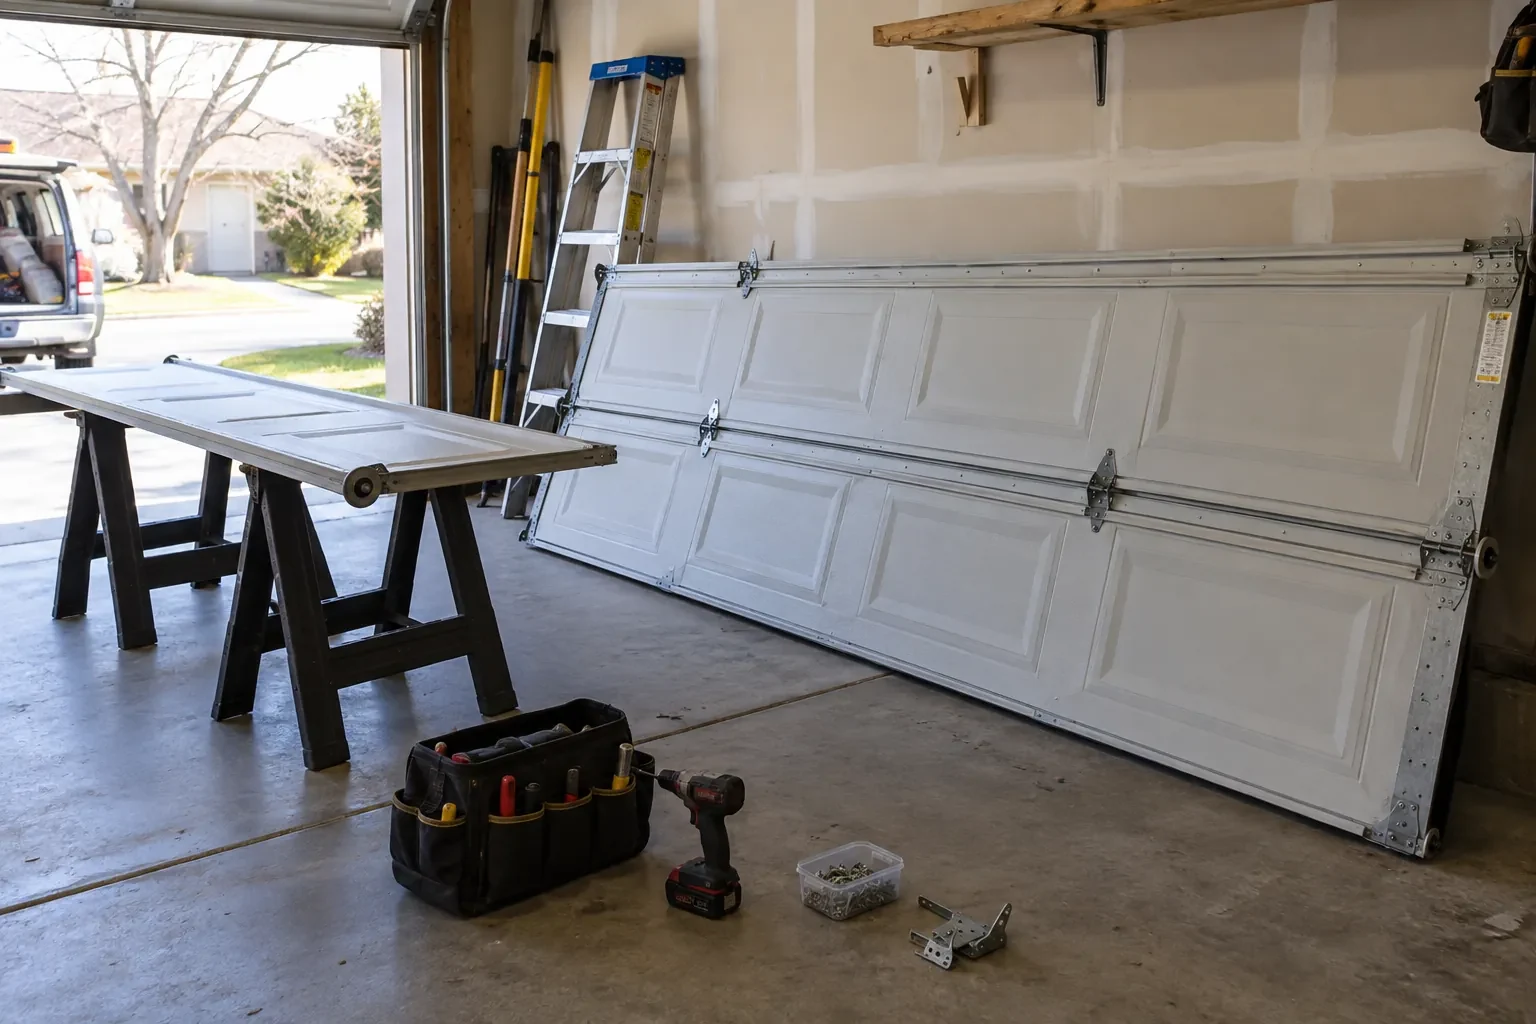
The opener head, its arm and its safety devices
Turning to the opener, the technician checks that the motor head is secure on its hangers, the rail is straight and its header bracket firmly fixed, and the curved arm meets the door at a bracket that is bolted to a reinforced section rather than thin steel. The chain, belt or screw drive is looked at for slack or wear. The photo eyes are located, their height above the floor noted, their lenses and wiring checked, and the wall control, remotes, keypad and lock or vacation button are each identified so they can be tested in turn. This is also where the manual release cord and handle are confirmed to be within reach and in working order.
Sorting the findings at the door
Before packing up, the technician walks you through what was found, in front of the door so each item can be pointed at. Findings are sorted into four groups: in good order, maintenance, planned repair, and stop-use. For each repair, you hear what the part does, why it matters and roughly what the work involves, so you can decide in your own time. If anything falls into the stop-use group, you are shown the reason and the door is left in a safe position with the opener disconnected until that item is corrected. The written record follows, with the model numbers, the measurements and the photographs.
Keeping the opening clear and the controls sensible
A few placement decisions carry on after the visit. Bins, bikes and the snow shovel live away from the opening so the door never comes down on them and the cables never go slack. The wall control stays mounted high enough that a small child cannot reach it and where whoever presses it can see the door. Remotes are kept out of toys and glove compartments that children play in. If the household includes anyone unsteady on their feet, the manual release handle is confirmed to be reachable without a stepladder. None of this is hardware; it is simply the layout that lets the safety devices do their job.
Garage Door Safety Inspection
In the van
Flat 2x4 test board
Silicone garage-door lubricant
Lens cloth and cleaner
Socket set and nut drivers
Remote and keypad batteries
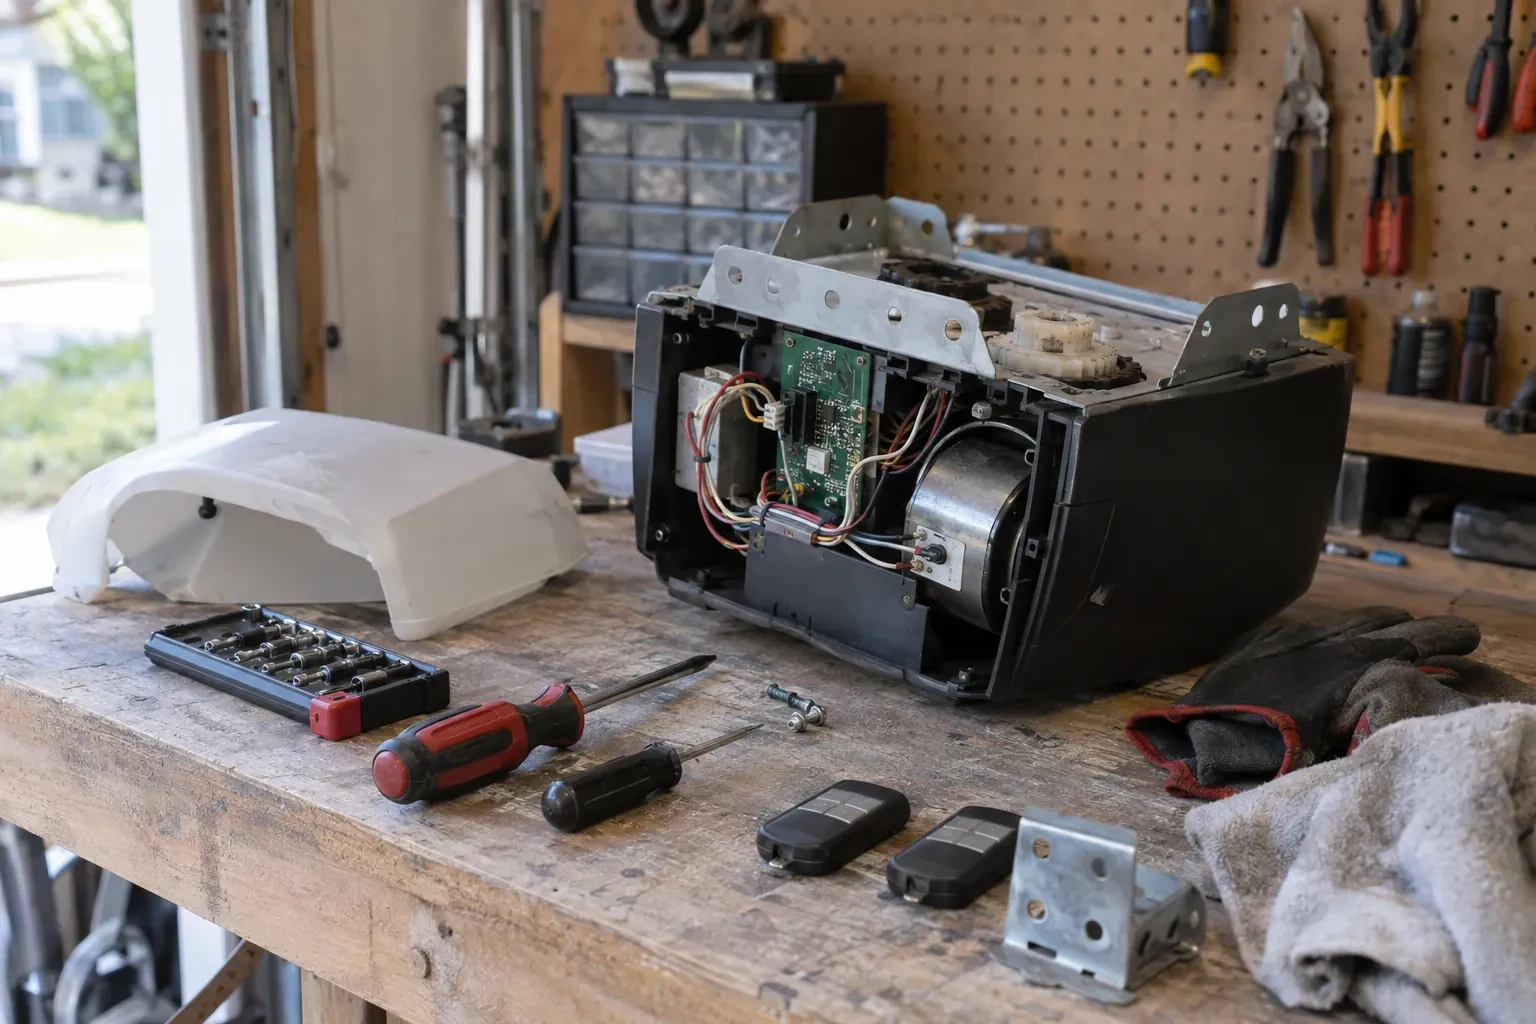
Garage Door Safety Inspection
What affects the quote
Manuals and unusual models
A door or opener with no label, a discontinued model or a custom lift setup means the test procedure has to be established rather than looked up, which adds time.
What is stored around the door
Shelving under the spring shaft, bikes along the tracks or a car left inside slow the visual walk. Clearing the area beforehand keeps the inspection to its planned length.
How many doors are on the property
Each door and opener gets its own inspection and its own record. Two doors in one visit share the travel, but the checks are done in full on both.
What to have ready
- When was the door last serviced, and do you have the paperwork?
- Has a vehicle or anything else struck the door or the tracks?
- Is there a spring on a shaft above the opening, or springs stretched along the tracks?
Garage Door Safety Inspection: questions
QuestionsIs the inspection a repair visit?
It is a look and a record first. Small maintenance items such as lubrication, cleaning and aligning the photo eyes and tightening fasteners can be done on the spot if you wish. Anything involving spring tension, cables, drums, worn rollers or damaged sections is written up with a clear explanation and quoted as its own job, so you decide with the full picture in front of you.
Why does my door reverse on the way down for no reason?
Most often it is the photo eyes. A sensor knocked slightly out of line, a lens with a film of road grime, a loose wire, or low afternoon sun shining straight into one eye will each break the beam as far as the opener is concerned. The next candidates are a down-force setting that has drifted, a binding roller or a door that has gone out of balance. The inspection checks each in turn.
What exactly gets looked at during the inspection?
The whole system, not just the opener. Sections, hinges, rollers, tracks and their fasteners; springs, cables, drums and bottom brackets; the bottom seal and perimeter weatherstrip; the opener head, rail, arm and mounting; the photo eyes, contact reversal, wall control, remotes, keypad and manual release; and the warning labels. Each is examined, and the door is tested both by hand and under power.
Related services
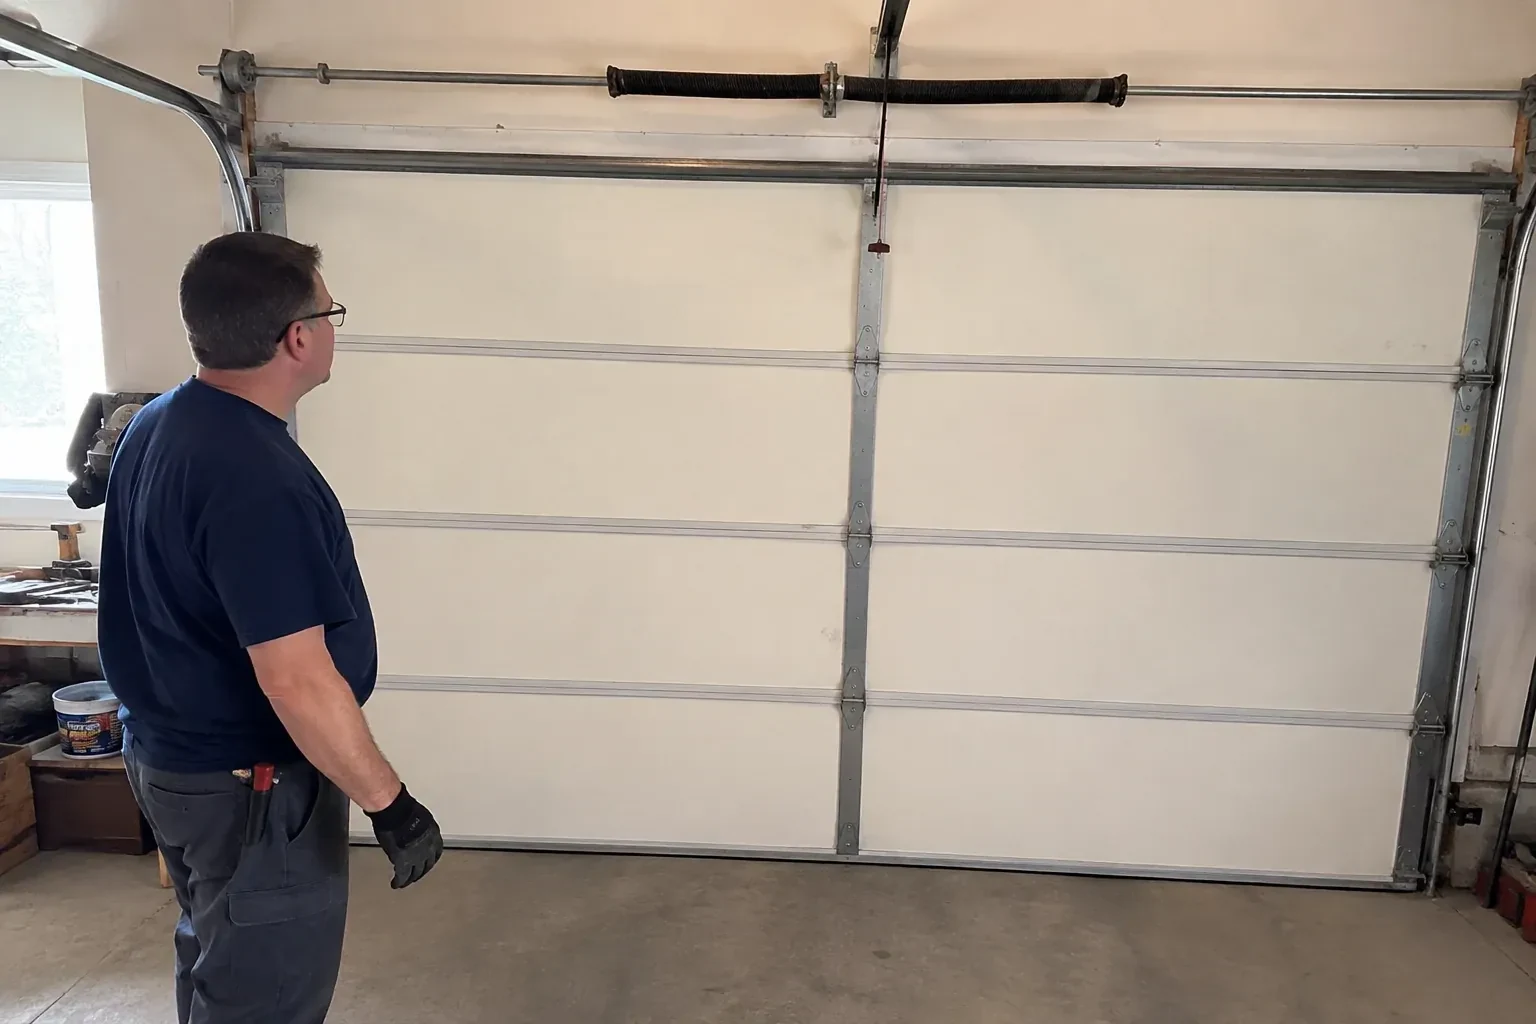
- Off-Track Garage Door ResetYou tapped the door with the bumper while backing in, barely a nudge, and now the bottom corner has swung inward.
- Garage Door Panel ReplacementYou misjudged the last metre of the driveway and felt the bumper meet the door.
- Garage Door Bottom Seal ReplacementThe gap under the door is a finger wide at one end and nothing at the other.